


InDesign imagery offers numerous benefits that enhance the visual appeal and impact of your designs. By harnessing the power of InDesign’s robust image editing and manipulation tools, you can create stunning visuals that captivate your audience. You can also follow us on our 5 gems for wrangling Adobe InDesign text. Here are what we believe are the BEST Adobe InDesign tips when you’re w with imagery.
Being able to quickly wrangle imagery is a designer’s secret weapon.
1. Grid images
In the same you can add columns to a text box as you are drawing it out, hold the mouse down as you’re drawing a graphic box and tap the right arrow key to additional boxes into a grid.


2. Auto-fit
If you haven’t set up auto-fit to your box in your templates, shift + option + command + e will fit your image to the picture box proportionally.


3. Default auto-fit
With no documents open, you can set the default auto-fit options for your image boxes for all your new documents.
- Go to the Object menu and select Fitting
- Then select Frame Fitting Options…
- Turn on Auto-Fit and choose your preferred content fitting option – fit content proportionally is a good start!
Extra tip: This will apply to all new documents you create, but you can set the default for existing documents as well.

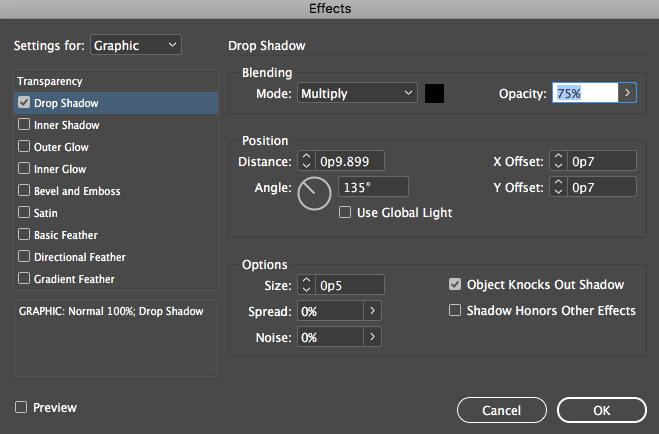
4. Drop shadow
Option + command + m displays the drop shadow options for your image (and for text too).

5. Locking, hiding & grouping
There are some great quick-fire keyboard shortcuts for locking (command + l), hiding (command + 3) and grouping (command + g) for image and text boxes. These can be un-done using the option + command version of the same shortcut (with the exception of grouping which is shift + command).
Seeking perfection when proofing designs? Check out PageProof and InDesign’s seamless integration today.